Lighting can make or break a shot. And sometimes we can get so caught up in the shutter speed or composition or depth of field that we forget the basics about lighting.
Gina and Valerie discuss common rookie lighting mistakes – and ways to overcome them. From simple hacks and great techniques, you’ll discover lighting tips that you’ll be able to use straight away!
#ginachallenge #peelingpotatoes
Click play to listen to the podcast or find it on iTunes here. If you don’t use iTunes you can get the feed here, or listen to us on Stitcher radio.
Show notes
Shout outs


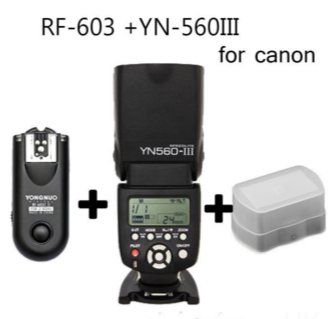
Yongnuo Gear
YONGNUO YN-160 II LED light
Yongnuo RF-603 N1 wireless camera trigger
Yongnuo starter pack
YONGNUO YN-560 III Bundle With RF-603 II Single Transceiver for Canon
Photo critique 1
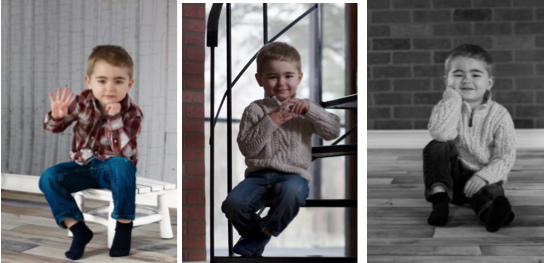
“Happy Sunday everyone! I just set up my very first in home studio. I’m wondering if I could get some feedback on these images. Feel free to take off the kid gloves and knit pick any little thing you see. I learn better that way:) Thank you!” – Dianna Frausto-Gonzalez
Photo critique 2

“This is my first post. I am looking for honest opinions as I work on improving my photography. It’s my first time using a 35mm prime lens (which I love!). Thoughts on lighting or composition? Thnx!” – Tracy Tieman
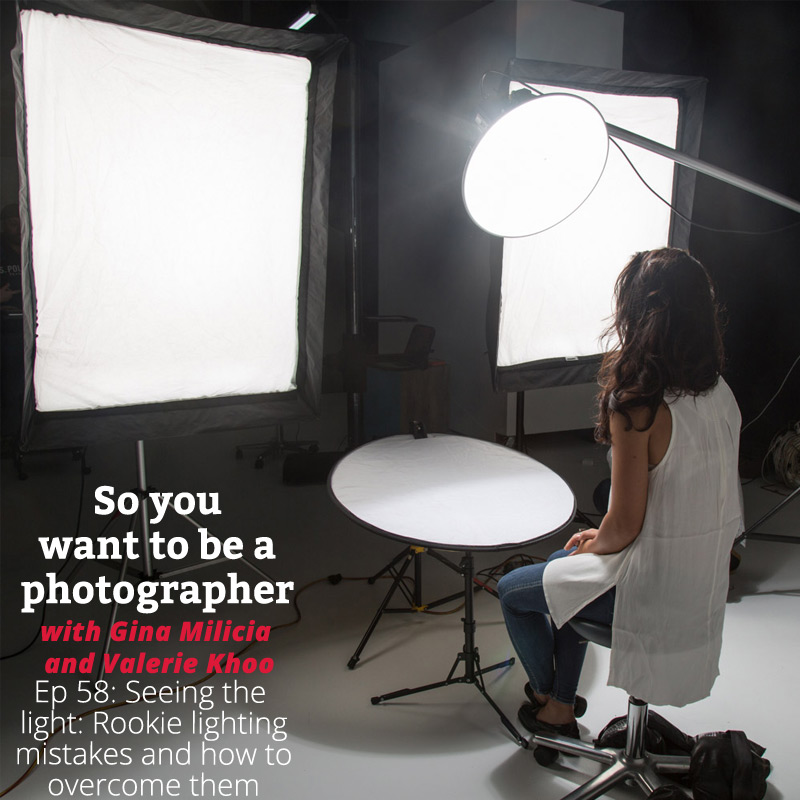
Rookie Lighting Mistakes and How to Overcome Them
1. Shooting portraits in daylight
How to avoid shark eyes: No catch lights
- Always try and have a large light source behind you
- Add catch lights with a reflector
- Look for large bright white surfaced like trucks
- Wear a white shirt
How to avoid raccoon eyes
- Sun is directly above the model
- Tilt face
- Use a diffusors
- Move to shade
- Uneven lighting/dappled light
- Look for even “open shade’
2. How to deal with highly reflective surfaces
The Law of reflection: The angle of reflection is equal to the angle of incidence

Be careful of signage and media walls.
Lights reflected on windows in the background of shots
- The easiest way to avoid this is to change the angle of the lights slightly or move them so they reflect into a part of the frame that is not visible.
- If you can’t move the lights, then lock off the tripod and shoot 2 exposures, one for the windows and one for the roomset.
Light reflected in glasses
- The same rules apply to photographing a model wearing glasses
- You can either ask the model to change the angle of their head or change the angle of the lighting.
- I find it’s easier to ask the model to tilt their head slightly down rather than move lights around.
Highly reflective products
- Shoot in an all white room or create one using white boards
- Wear clothes that won’t reflect in the product you’re trying to photograph
- Large objects like cars can be photographed in large empty car parks under an overcast sky
In a nutshell:
- If you’re getting reflections or hotspots, change the angle of the light
- Use large diffusers
- Photoshop
3. Balancing light
4. Rookie flash mistakes
Overlighting
I still recommend overexposing skin tone by 1-11/2 stops but try and avoid blowing out the skin tone altogether because it just looks weird.
As a general rule it’s best to see some tone and texture in the skin.
- Flash is too bright so you get hot spot
- Use large soft diffusors: move light as close to your subject as possible
- Use a light meter
- Get a loop to view the LCD screen outside or go “old school” and use a black cloth. Like this: Hoodman loops
Underlighting/ too moody
Lighting that’s too flat or even
Filet mignon-ing when you haven’t finished peeling the potatoes yet
Take baby steps:
- Shoot with daylight
- Use an umbrella
- Move on to softbox/umbrellabox/octabox
- Then use Grids
- After that, try beauty dishes
- Then try mixing lighting styles
#GinaChallenge #peelingpotatoes

