When you’re taking portraits, great lighting is essential. But sometimes you’re not blessed with perfect conditions. So what can you do to “manufacture” the ideal light for what you want to achieve? In this episode, you’ll discover seven portrait lighting tricks to use with daylight or flash, whether you’re a beginner or a pro.
Gina and Valerie hope you enjoy the podcast.
Sign up to the newsletter for great tips and free Lightroom presets.
Join the dynamic Gold Membership in our Community which delivers monthly tutorials, live mastermind and lots of behind the scenes videos into the creative process.
Connect with us on Instagram @valeriekhoo @ginamilicia
Click play to listen to the podcast or find it on iTunes here. If you don’t use iTunes you can get the feed here, or listen to us on Stitcher radio.
Show Notes
Listener questions
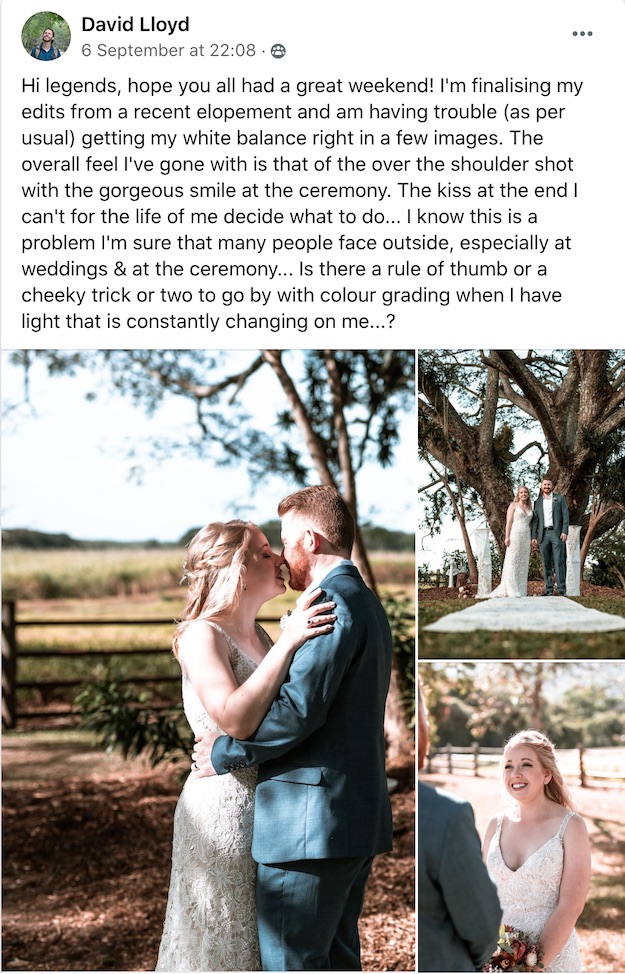
Deric Martin (Via FB GROUP)
I was wondering what portrait photographers might think about having tethered shots displayed on laptops for clients to view throughout shoots.
I can see possible pros and cons but would love to hear about some thoughts or experiences from those who have done this!
- Choose consistent lighting conditions and avoid dappled light
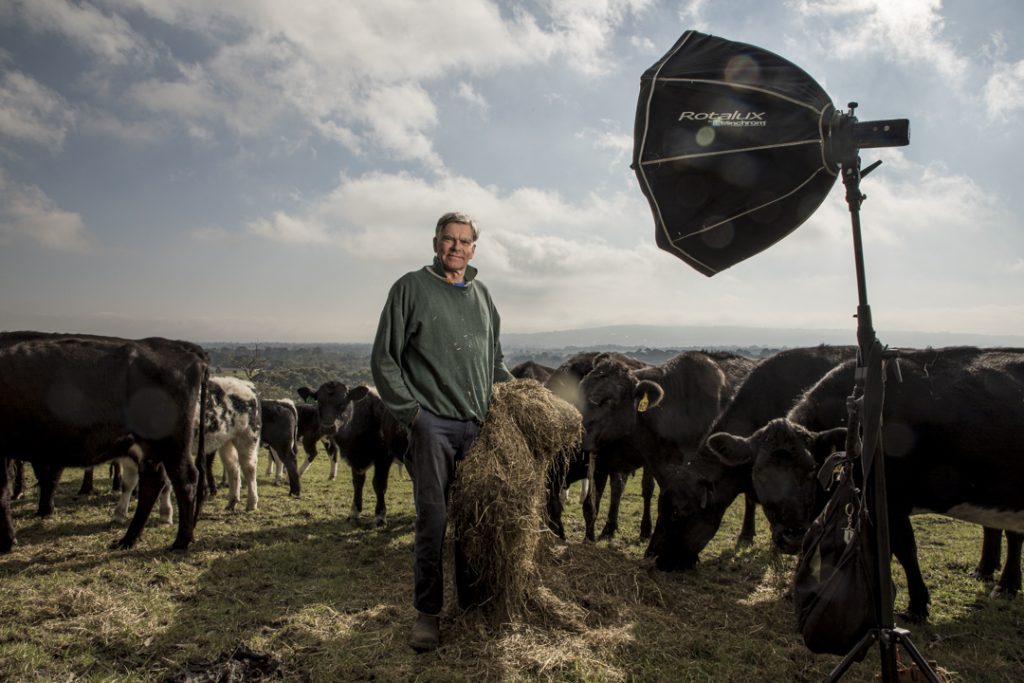
- Manufacture your own light
- Create your own lightroom/camera raw or capture one presets
- Don’t supply lots of different presets
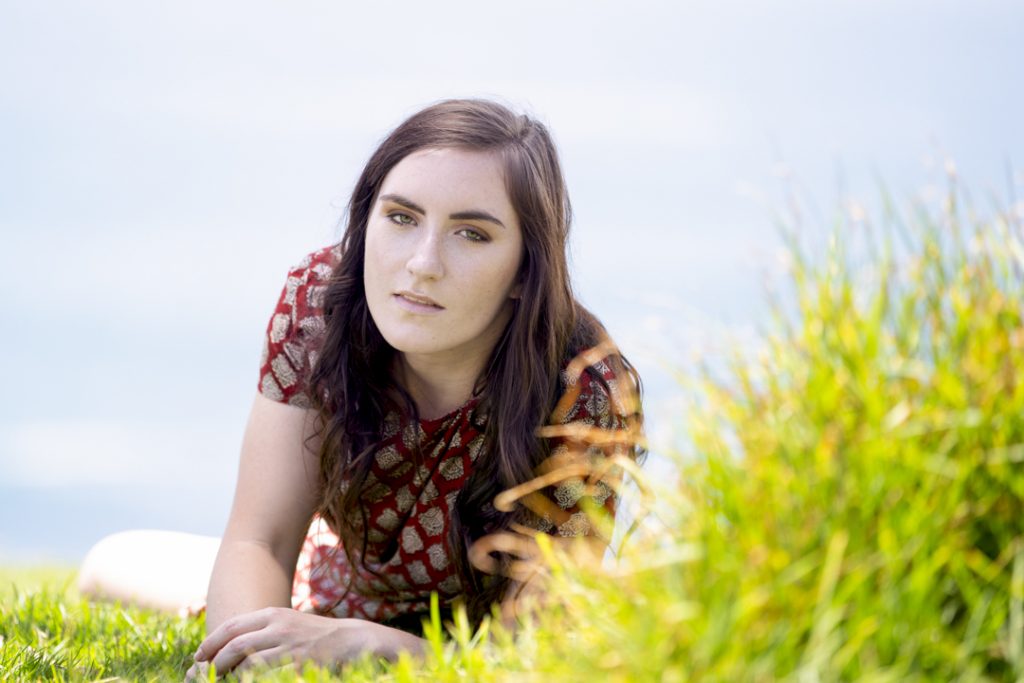
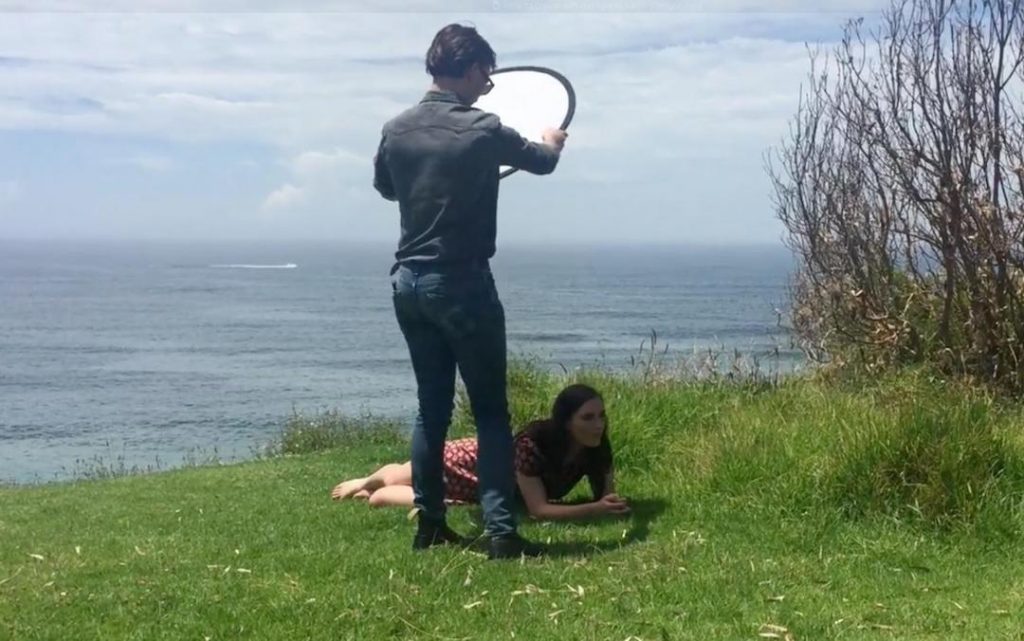
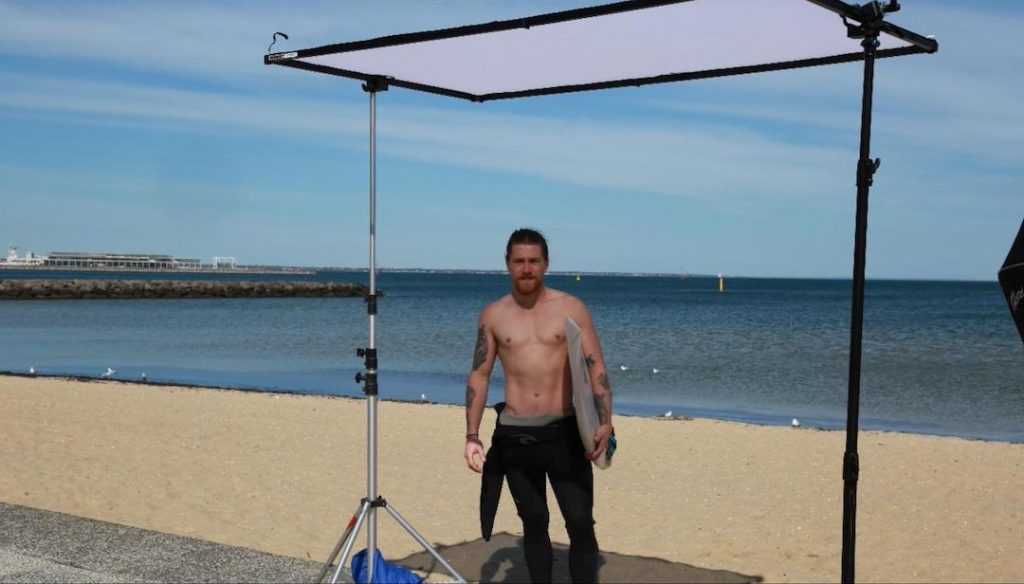
- Assistant +scrim
- Fill flash
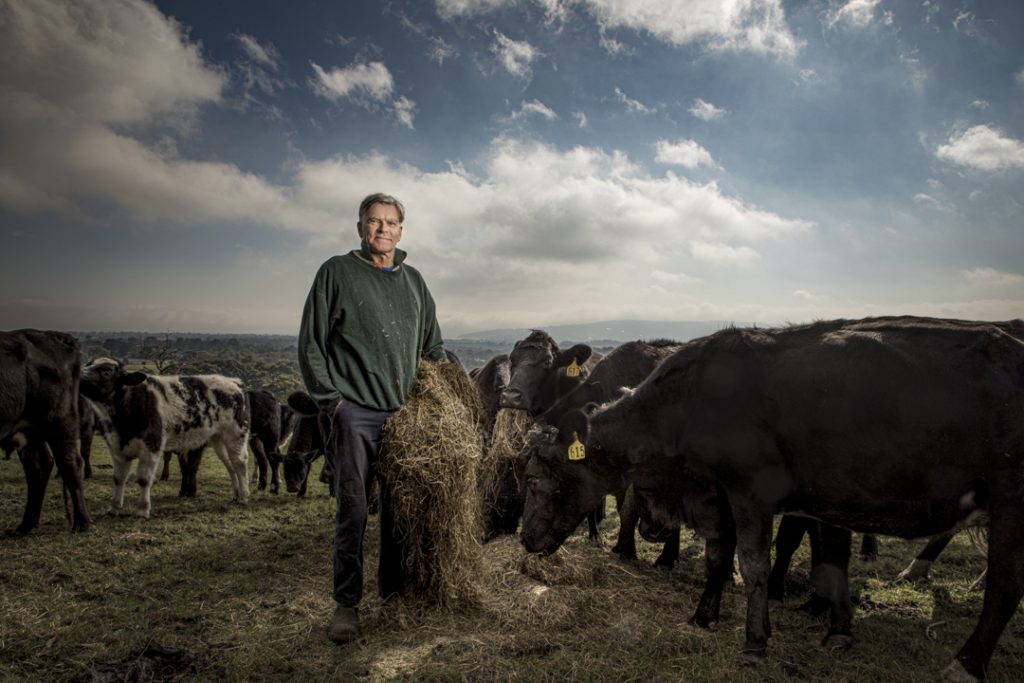
- Expose for highlights and open shadows in post
Seven portrait lighting tricks using daylight or flash for beginners and pros
These are my 7 favourite portrait lighting hacks that will eliminate the most common lighting problems.
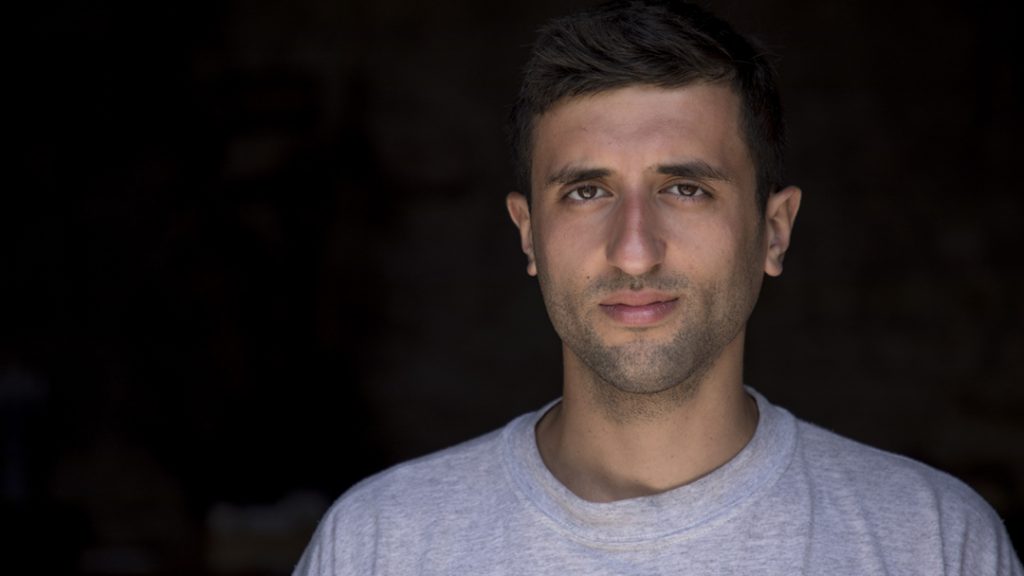
1. Use a scrim/diffuser

2. Use your smartphone to find the best lighting
3. Switch off overhead lighting
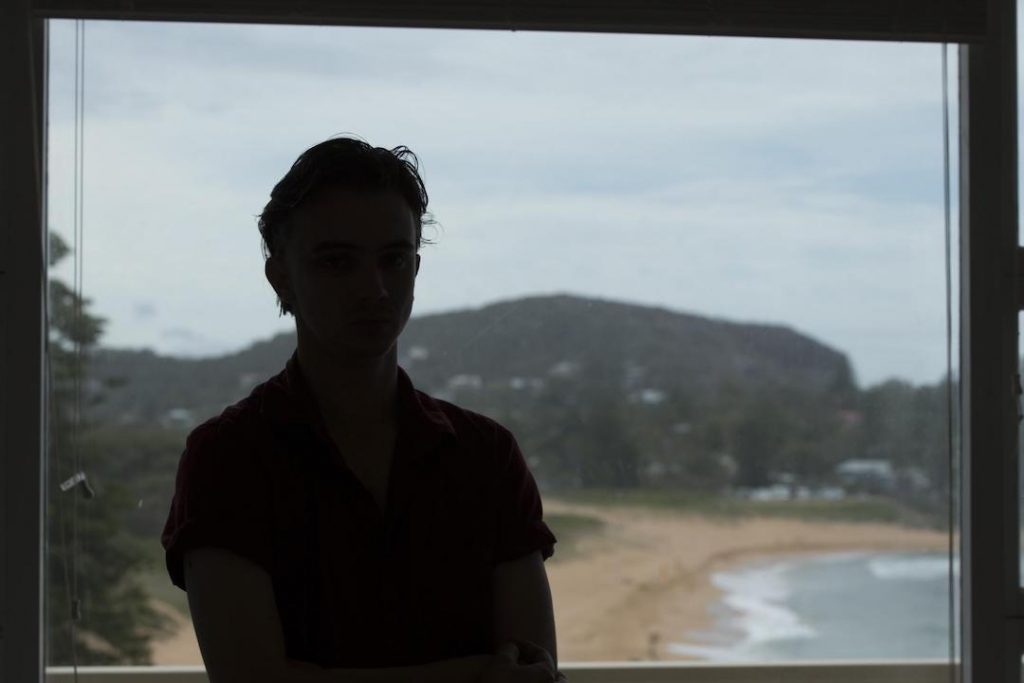
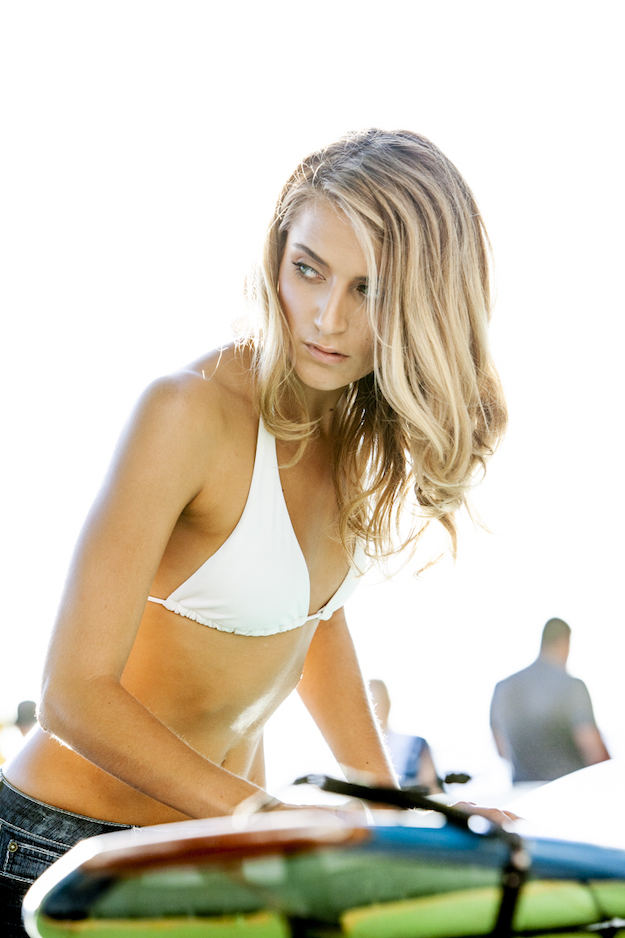
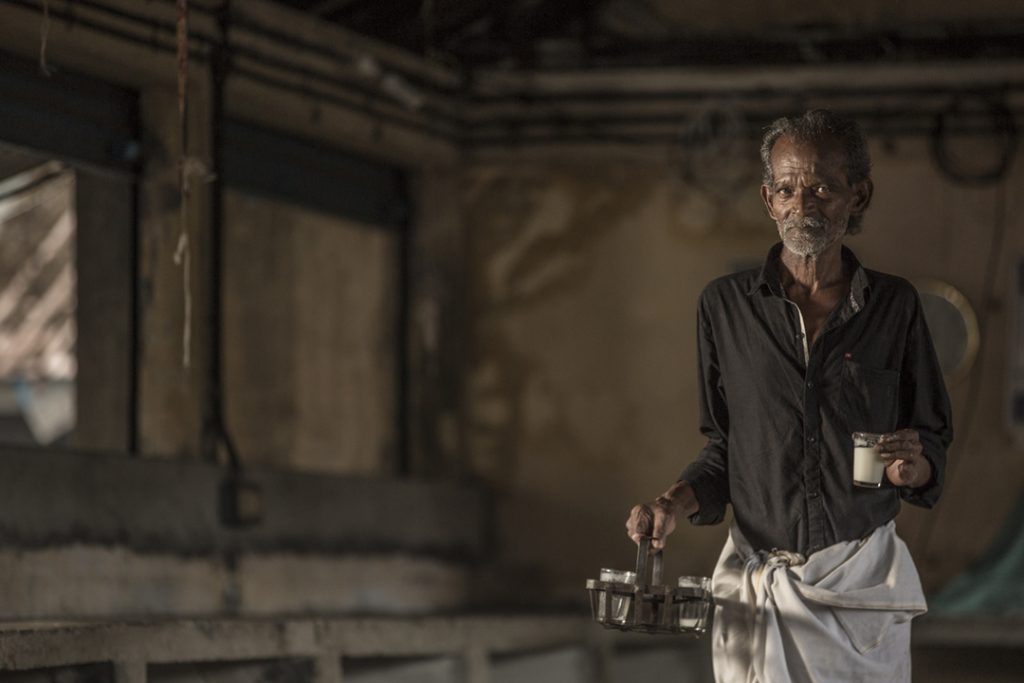
4. Backlighting is your friend

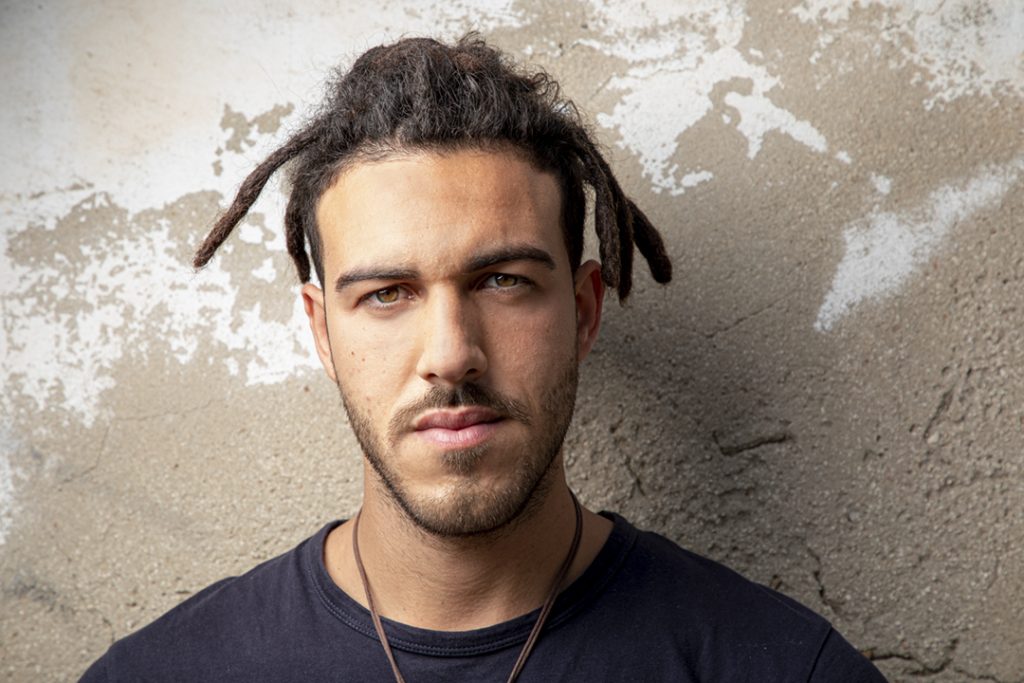
5. Side lighting adds definition and shape

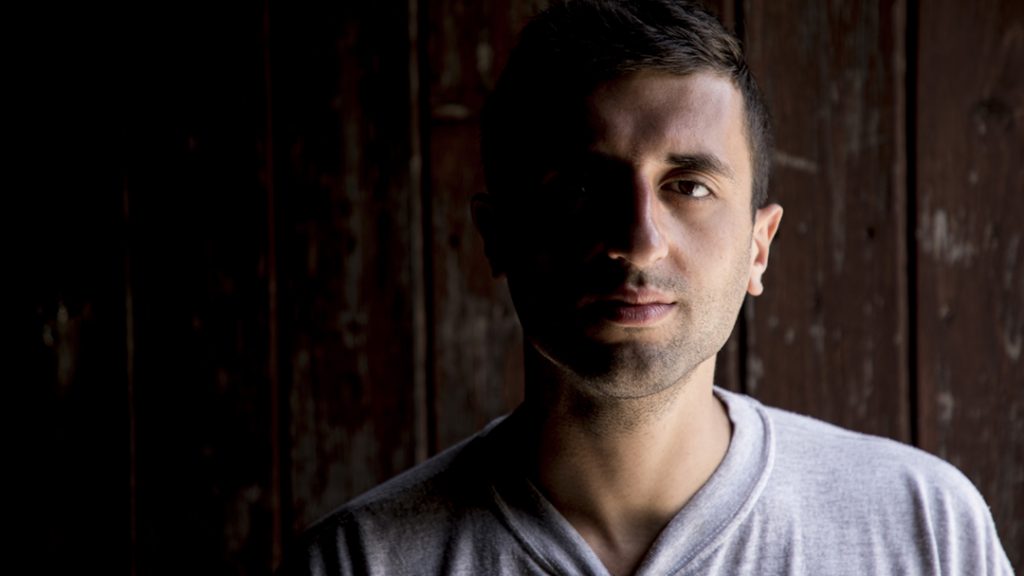
How to soften a cheap modifier using a scrim

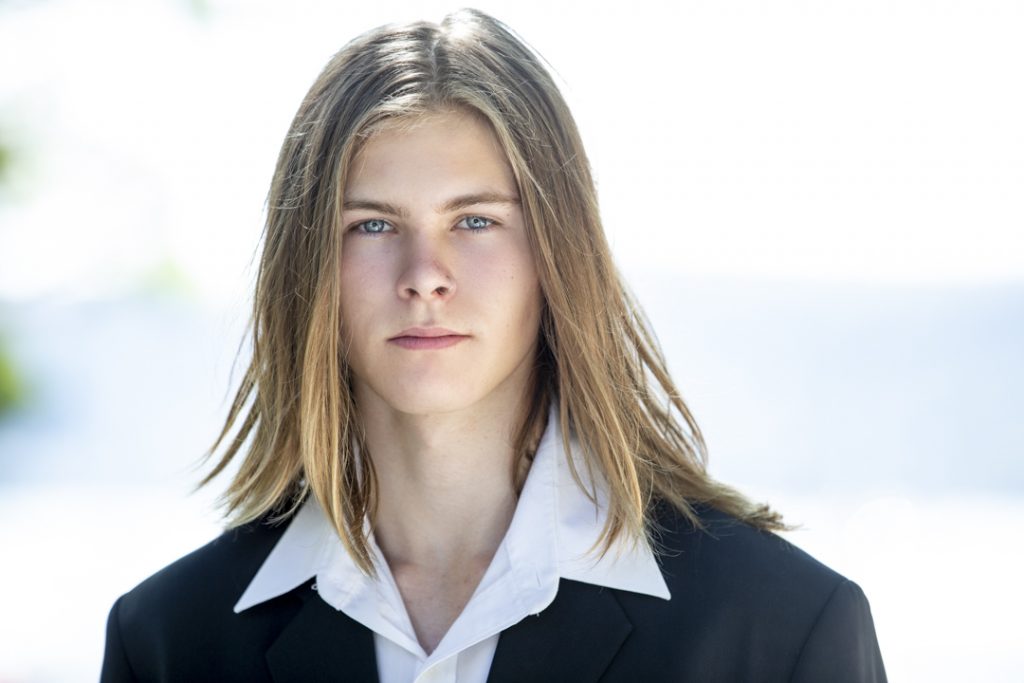
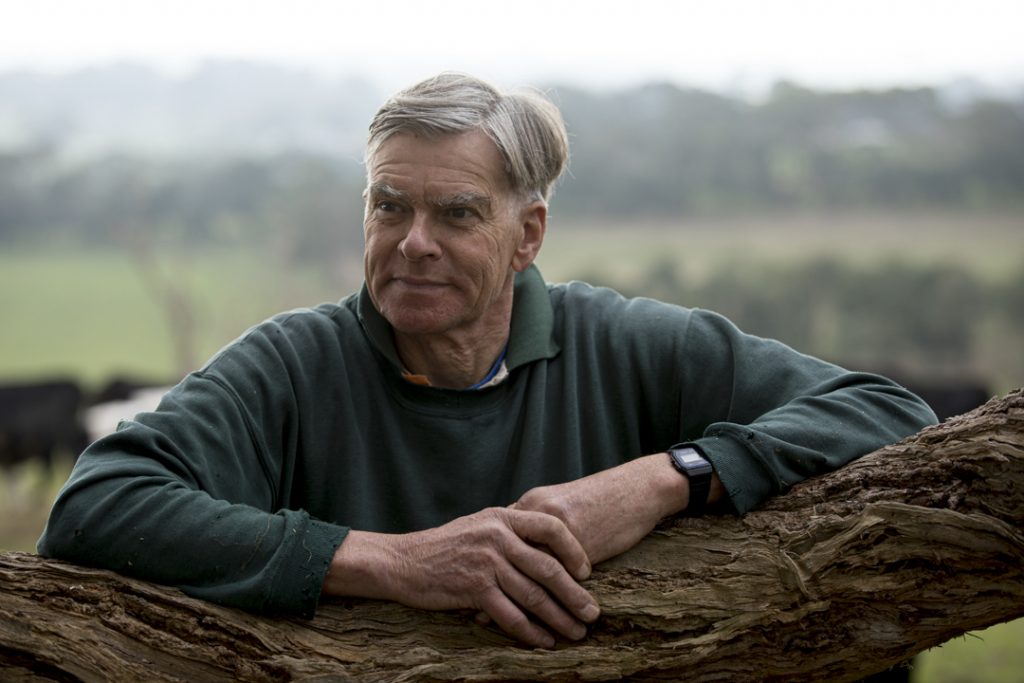
6. Look for the direction of daylight

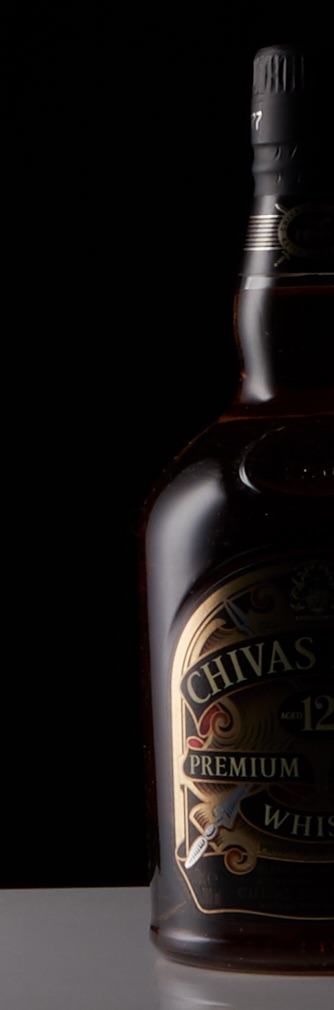
7. Light in the same direction as an existing light source
BIG LIGHT SOURCE=Soft lighting Small light source =hard light

AUSSIE SLANG: YOUSE

