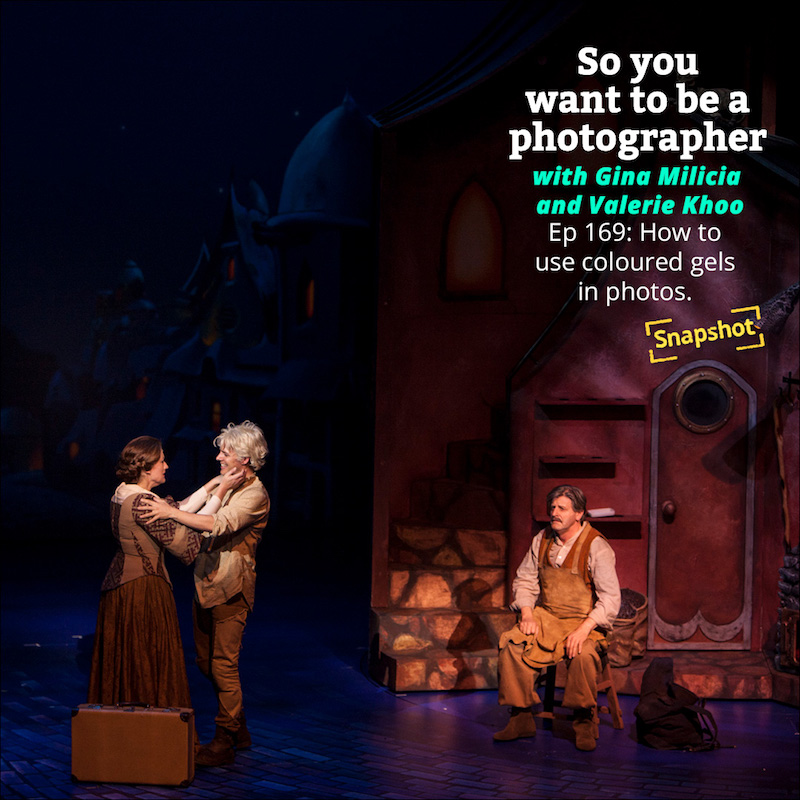
A simple gel can transform your photograph. So when should you use them with your lighting – and how do to you use them correctly?
Gina and Valerie discuss when and why you should use gels, different kinds of gels, affordable alternatives and more.
Gina and Valerie love bringing this podcast to you.
Ask your questions at [email protected]
Hope you enjoy the podcast.
Sign up to the newsletter for great tips and free Lightroom presets.
Join the dynamic Gold Membership in our Community which delivers monthly tutorials, live mastermind and lots of behind the scenes videos into the creative process.
Click play to listen to the podcast or find it on iTunes here. If you don’t use iTunes you can get the feed here, or listen to us on Stitcher radio.
Show notes
What are gels?
Two types of gels:
- Theatrical for dramatic lighting effects
- Colour correction that are used to convert tungsten to daylight or flour to daylight or vice versa
- Professional theatrical gels come in different densities 1/16. 1/8 1/4 1/2 or full power
- Start with half or 1/4 power and build on these
- The denser the gel the richer the colour and the more expensive they are
- A cheaper alternative is to use cellophane or gift wrapping. The downside of using these cheaper alternatives are they are not as dense so the colours won’t be as rich.
- The cheaper ones can put out a muddy light
- The work around is to double up the cellophane to get a richer colour
Safety
- Theatrical gels are flame resistant
- If you are using cellophane gels on a light with a modelling globe be careful to not let the gel touch the globe because it will melt or catch fire
- Gels work better on a darker backgrounds
- You’ll get a better result in moodier shots (lowkey)
- I generally start with my gel lights 1-2 stops under my main light and tweak up or down from there.
- Each set up will be slightly different depending on the type of lighting and colour of gel vs background used.
Colour theory
Check out the podcast episode on colour theory to help understand the types of colours that work best in portraits
As a general rule complimentary colours work well together
- Orange and blue
- Red and green
Skin tone, hair colour, clothing and makeup will also have an effect on the final outcome
Blues and purples generally work well on most skin tones
Try experimenting with rim light at 45 degrees using grid spot for a tighter light source and softbox with gel covering the entire box for a softer looking colour with greater and softer looking spread
Mix multiple colours together
- Blend gels together to create interesting colours
- Eg blue and red = purple
Use gaffer tape or velcro to attach gels to your gels to your lights
Creative ways to use gels
- Add a gel directly to your background for instant colour
- Add a gel and grid spot to add coloured backlight on hair or body
- Tape gel to a fill card and this will bounce a subtle light into your model
- Combine smoke and gels to create drama and mood.
- Bounce coloured gels into silver or white reflectors to create a more subtle and soft effect
- Create coloured shadows using gels
- Try CTO (colour temperature orange) gels outside to give late evening romantic look to images
- Look at theatre lighting for inspiration
- This is also worth experimenting with at home with a styrofoam head 🙂
#ginachallenge #gel


